
Alexandrite is the first and only eyeshadow single from Le Métier de Beauté that I ever bought, and for the longest time, I wished that I had gotten a more sensible color, like the often celebrated Corinthian. I bought it during my “purple shadow phase,” which I am not completely out of but am moving slowly away from.
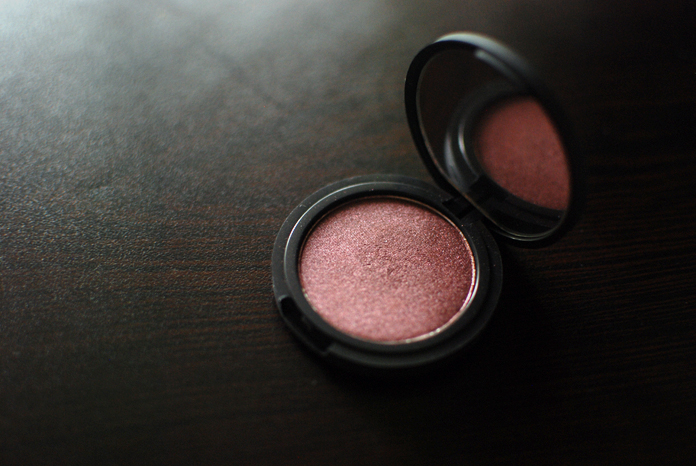
Recently, however, I realized that I can actually use Alexandrite, a pretty red-toned violet with a bit of a golden sheen (as far as I can tell), for a one-shadow smoky eye. But more on that later.

As for Alexandrite, it has a wonderful, smooth texture that is also apparent upon application. It’s not incredibly pigmented on the first layer, but it’s very easy to work with and it’s a dream to layer and blend.
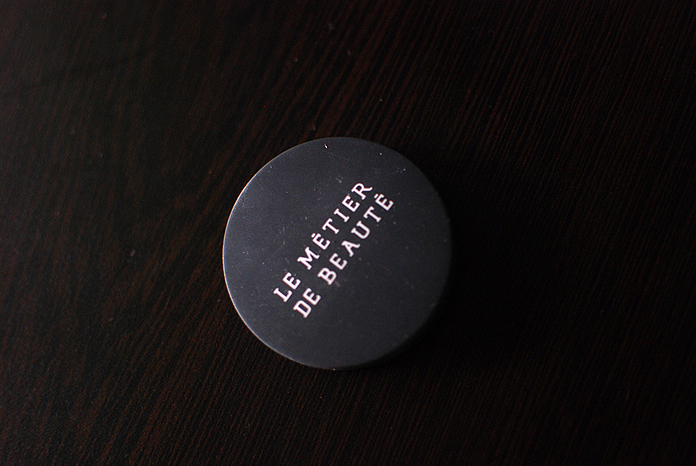
The Le Métier de Beauté single eyeshadows come housed in a rubberized circular compact, with a texture that’s more similar to the NARS compacts than the LMdB Kaleidoscopes that I’m more used to. Each shadow has a mirror on the lid, and a pinhole at the bottom to ease the pan out of the compact should you wish to depot them.
I’d love to try out more shades by LMdB, but I find that their quality varies and it’s harder to determine the texture if you cannot try them out for yourself in person. I’m quite happy with this selection, though, and am looking at Corinthian or Jojo for my next purchase.
And now, for the second part of this post—a 1 shadow smoky eye sort of tutorial. You can pretty much use any midtone to dark shadow to create a similar effect but for the purpose of this post, I will be using the Le Métier de Beauté True Color Eye Shadow in Alexandrite.
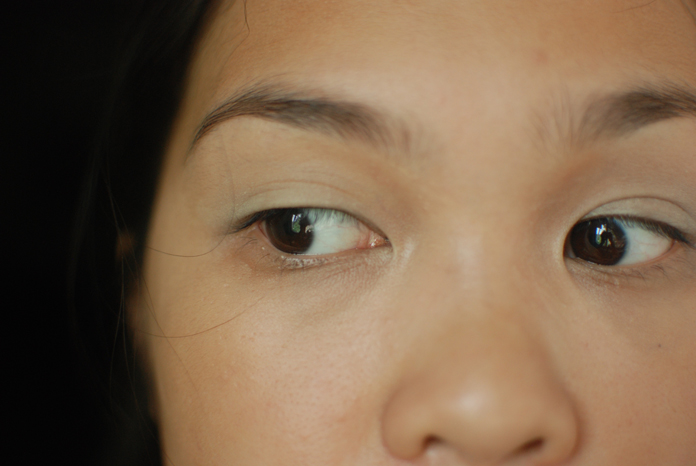
1. PRIMER YOUR EYELIDS
I used Benefit Lemon Aid over the entire lid up to the browbone.
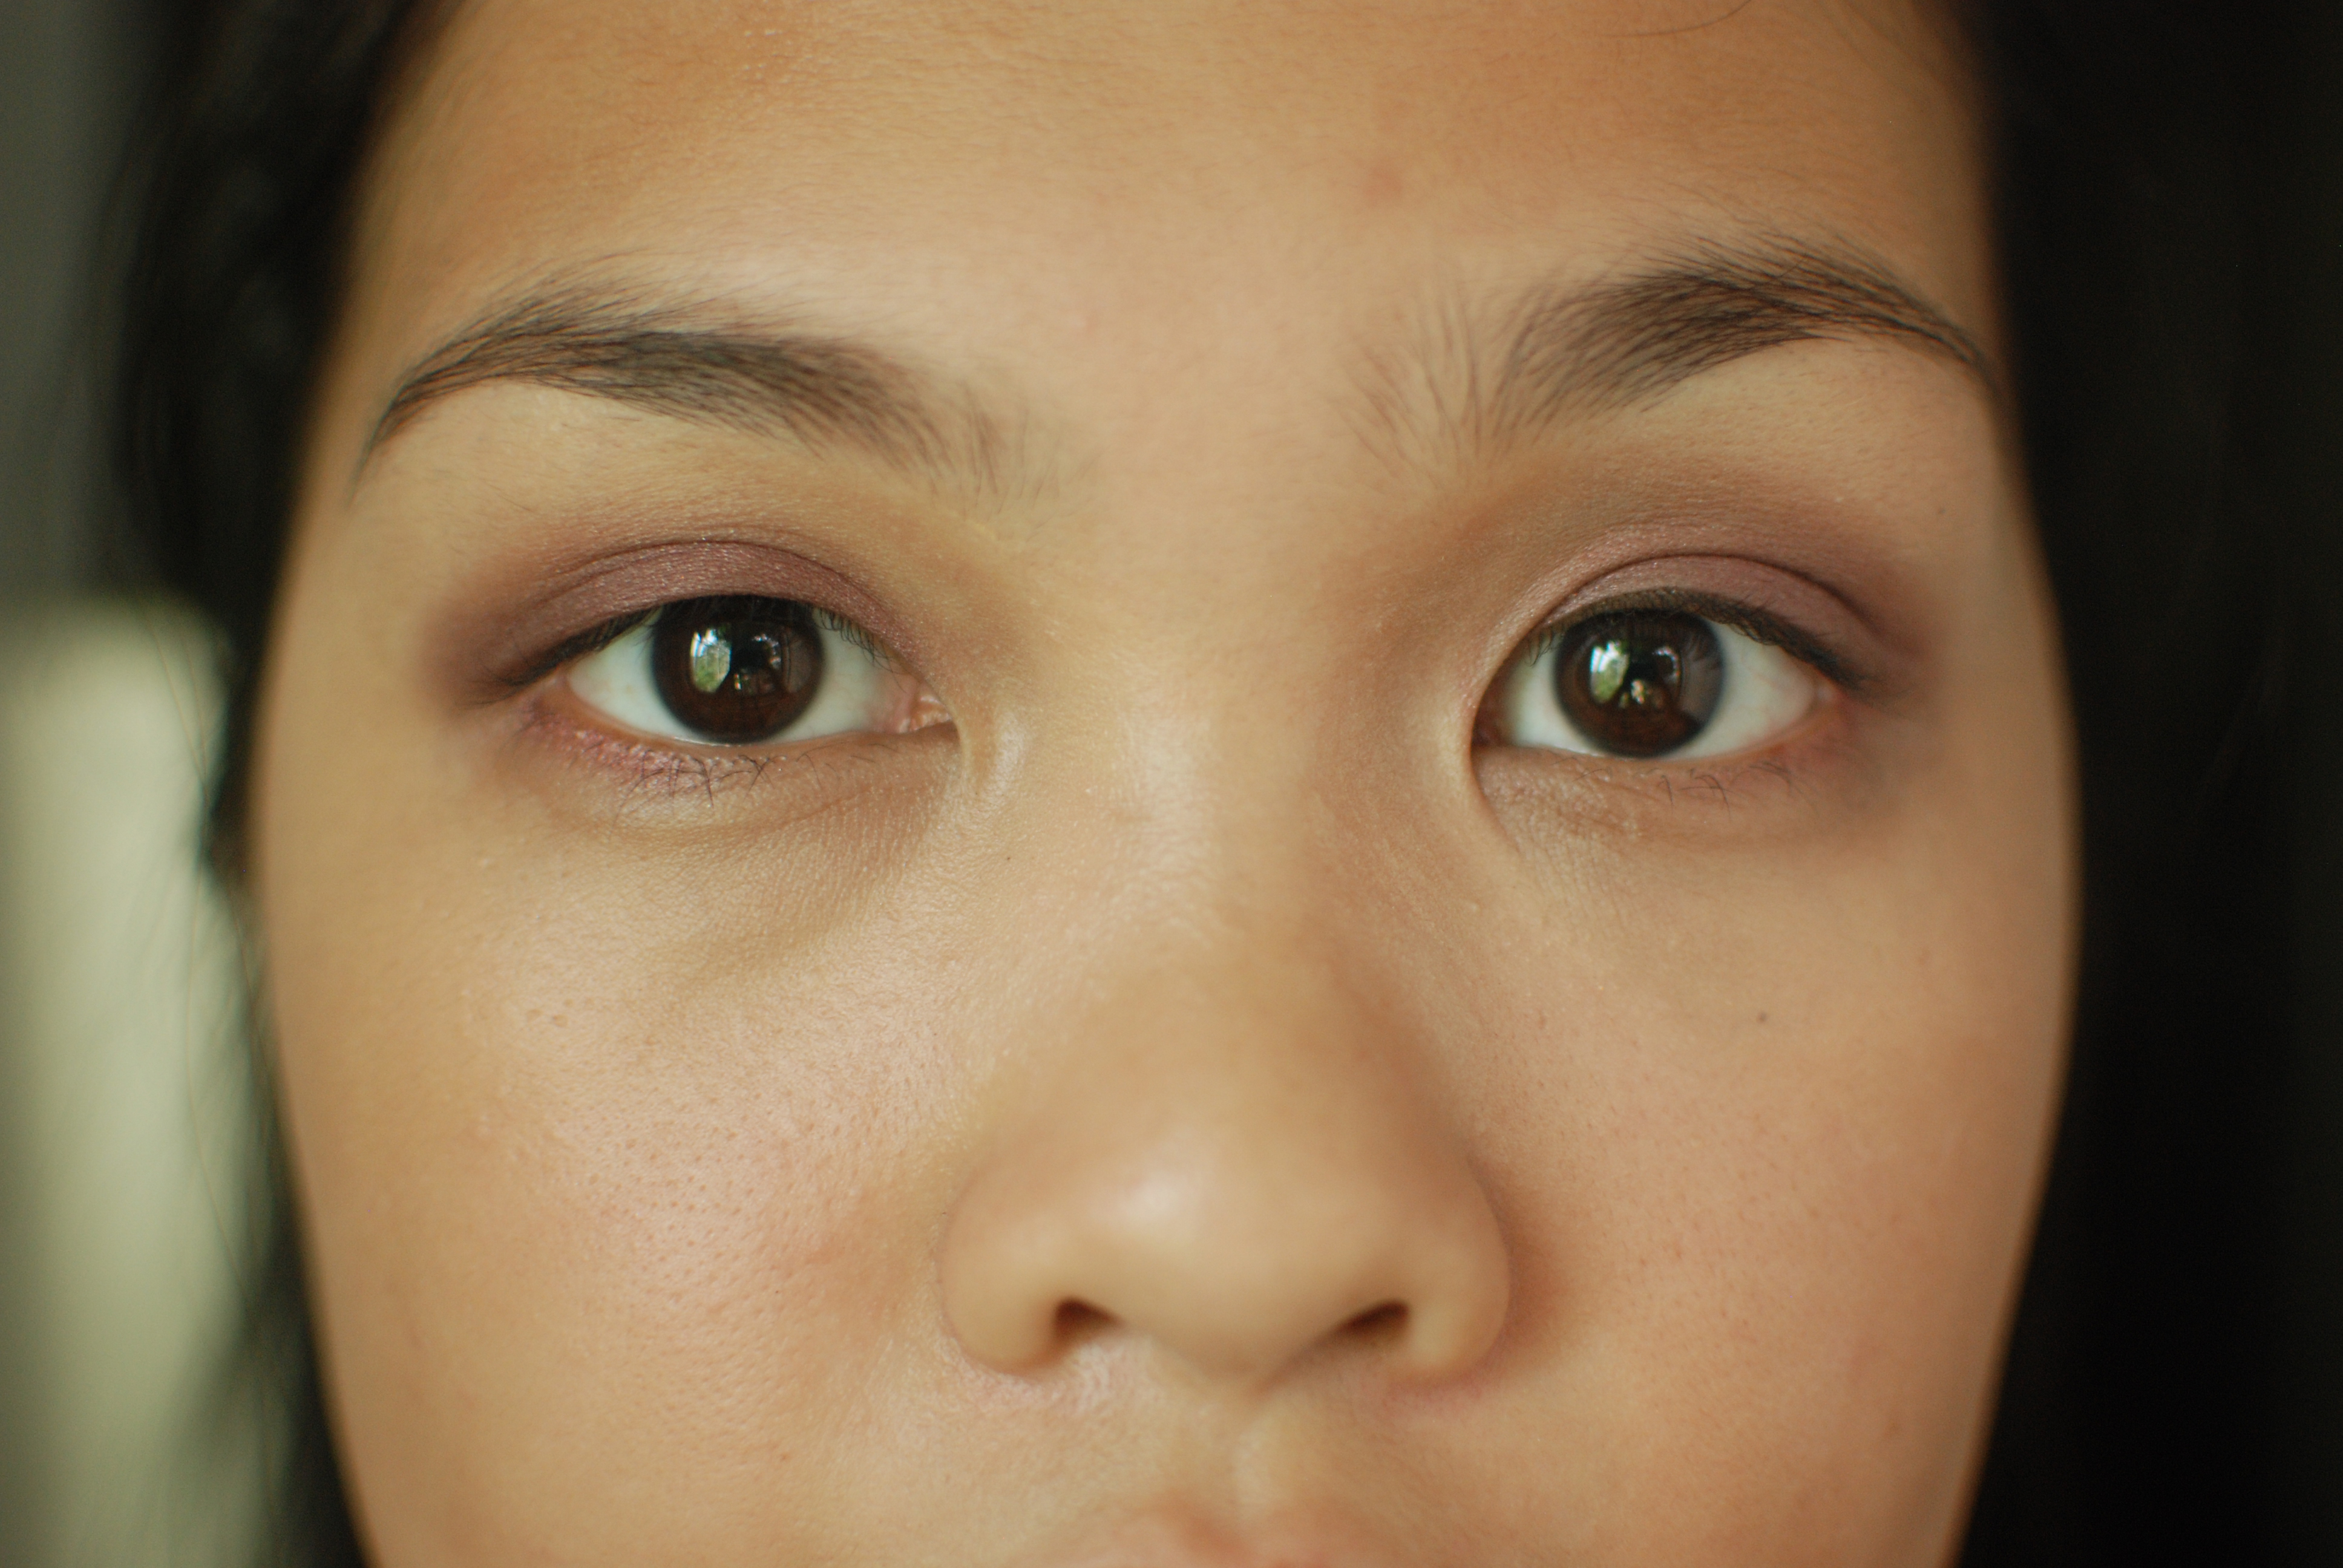
2. APPLY YOUR EYESHADOW ALL OVER THE MOBILE LID.
Pat your selected eyeshadow all over the mobile lid, extending a little bit beyond the crease. Application doesn’t have to be perfect, especially with the edges, but try to cover your lid space evenly with color. I used a MAC 239 and Alexandrite.
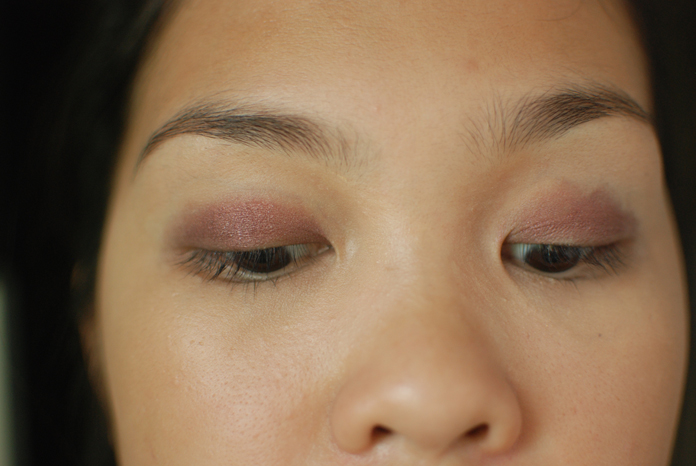
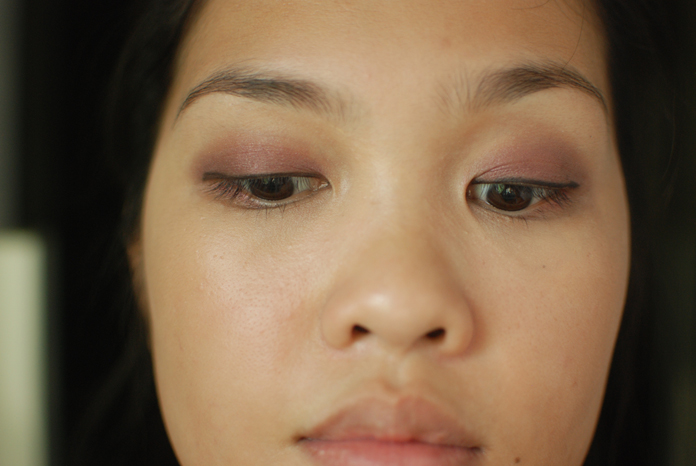
3. BLEND OUT THE EDGES.
Using a blending brush, blend out the edges to create a soft haze. I used a MAC 217, but you can use any similar fluffy brush.

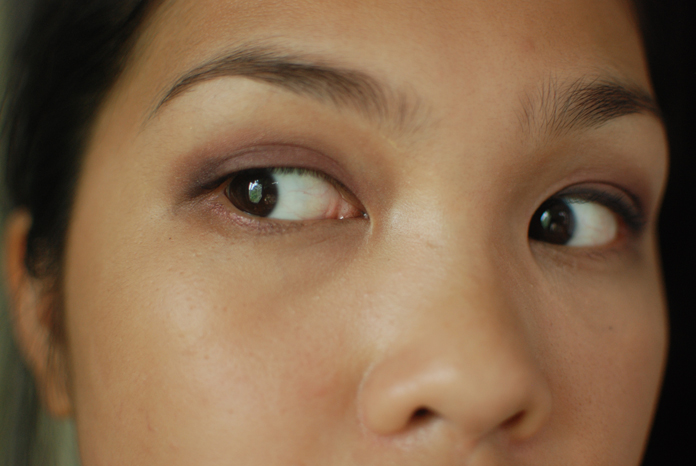
4. SMUDGE THE COLOR ALONG YOUR LOWER LASH LINE.
Extend the color to your lower lash line. I smudged the color on two-thirds of the way in using a MAC 239. This creates a more or less balanced look.
5. LINE YOUR UPPER LASH LINE WITH A SOFT PENCIL.
I used the Eye of Horus Natural Smokey Eye Pencil in Black. Again, this doesn’t have to be neat.
6. CREATE A ‘V’ SHAPE WITH YOUR EYE PENCIL.
I forgot to take a photo, but this will create a more smoky look and add depth to your eye. If you decide to use this pencil, make sure to do one eye first as the liner sets quite quickly.

7. BLEND!
Smudge the liner out, creating a soft smoky effect. If your liner is a bit stubborn, you can add a bit of the shadow on your brush to create a soft gradation.
I used the smudger end of my pencil liner, then went back in with my MAC 217. If your pencil doesn’t have a smudger, you can use a smudge brush, like the e.l.f. Eyeshadow “C” Brush.
Curl lashes, add mascara (though I didn’t do that here), and you’re done!

I think this is a great way to wear some of the deep shadows in your collection. I find that a lot of smoky eyes are very pretty, though a bit complicated. If you’re having a lazy day, but you need a little oomph in your eyes, this is something worth trying. 🙂
Hope you enjoyed this semi-tutorial and review. Do you have a go-to smoky eye look? Do share!

Whoa this is awesome! I couldn’t figure out how to use my EoH eye pencil properly without making me looked freshly punched. This is a great tutorial, thanks!
Yup, try to smudge it out as soon as you apply, because it sets pretty quickly!
Awesome tutorial! And the color looks great on you 🙂
Thank you! 🙂
The color’s awesome! I didn’t expect it to turn out so nicely, I’m wary of reddish/pinkish eyeshadows. I usually do it the other way around: I apply and smudge the pencil first and then I apply the eyeshadow on top, that’s my shortcut/tamad version! 🙂
Talaga? I love them! Pero in practice, medyo mahirap nga gamitin. Haha. 🙂 I’ll try that next time!
I love this look and the style of your tutorial. So easy to read and follow.
Thank you, Catherine! I really appreciate it. 🙂
what a beautiful shade! I still haven’t found a dupe for mac’s 217, it’s my fav brush from them! xxx
I have been hearing about dupes from bdellium (sp?), Hakuhodo, and Sigma! Very tempted to check them out.
I think its a lovely shade and it suits your complexion perfectly! Love how you did that simple smokey eye too 🙂
Thank you Lily. 🙂
So pretty! Both the eyeshadow and you. =)
Aw, thank you! ❤
So nice, the key thing really is to blend blend blend! Maybelline Color Tattoo in Pomegranate Punk is a similar color and I use that for a single color smokey look too. That and MAC Satin Taupe.
Yup, that’s pretty much all there is to it, I think. 🙂 I think it’s also a bit intimidating to choose a shadow for your first try at this.
I was going “oh, ah” looking at this shade. Gorgeous!
Aw, thanks!
Pingback: Top Five Eyeshadow Brands (Cruelty-Free) | Softly Sometimes
Pingback: One-Shadow Eye Looks | Softly Sometimes
Pingback: Lazy Girl Makeup: One-Shadow Smokey Eye | Softly Sometimes